Fun Fact:
For anyone who may be unaware, here is the definition of "nemesis:"
n. pl. nem·e·ses (-s z
z )
)
 Meet the source of my food angst:
Let's get started- This recipe really has very few ingredients:
Easy Chocolate Nemesis
1 cup unsalted butter, cubed (plus extra for greasing pan)
12 oz fine quality bittersweet chocolate, coarsely chopped (70% cacao is ideal- get the good stuff)
5 large eggs
1 cup sugar, divided
7 tbsp water
raspberries, whipped cream, or mascarpone (for garnish)
- Put the rack in the oven in the middle position and preheat to 300 F. Prep your pan- butter the bottom and edges, cut a parchment circle to fit in the bottom, place it in, and then butter the top of the parchment. I used butter when I did this, but I am about 85% confident it would also work with PAM for baking...
****IMPORTANT NOTE: Do not use a springform pan! This also includes pans that have a bottom that you can lift through the top of the pan for easy removal. This recipe involves a water bath. If you use the latter pan I mentioned, you will end up having a mess and having to remove the batter into a new pan. Like this:

Let's just say it wasn't pretty and move on.
- You will need to set up a double boiler to melt the butter and chocolate together. If you do not have an actual double boiler, just set a metal bowl above a pan of slowly boiling water. The water should not actually touch the pan. The water should also not be at a full rolling boil, more like this:


-Set the bowl on top and toss in the chocolate and the butter.

-Stir as the butter and chocolate start to melt. Mix it until it becomes creamy, making sure to scrape the sides and keep the bottom from burning or overcooking.

Set it aside to cool while you do the next step.
**NOTE- Don't throw away the boiling water. Add about 1 cup of water to the water pan and keep it at a low boil until you get to the part where you put the cake into the roasting pan.
- Beat together the 5 eggs and 1/3 cup of the sugar at high speed until tripled in volume. I have a stand mixer and this took about 8 minutes. You want it to be thick enough so that if you lift the beater, it takes a second or two for the ribbon to dissolve- the fluffier, the better.

- While this is beating, heat the remaining 2/3 cup of sugar and 7 tbsp of water in a small saucepan over medium heat. Stir it until the sugar dissolves and the syrup becomes clear. This should be pretty quick, depending on your pan- maybe 2 minutes.
-Pour this hot syrup into the melted chocolate. Stir to combine, then set aside to cool for about 10 minutes.
-If your eggs go a little flat while the syrup cools, give them a quick beat before the next step: Slowly add the chocolate syrup, a little bit at a time to the egg mixture, while beating at medium speed. Continue until everything is fully incorporated- but just enough- overbeating will take too much air out of your batter.
-Pour the batter into your non-springform pan and place it into a roasting pan lined with a kitchen towel (to keep it from sliding.) Pour boiling hot water that you originally used in the double boiler step into the roasting pan until it reaches about 3/4 of the way up the side of the cake pan.

-Pop it in the oven and bake until just set, about 50 minutes to 1 hour. It should feel just slightly firm to the touch- depending on personal taste, you can keep it in longer or even less. The less baked it is, the gooier it will be....


-Take the cake out and resist the urge to bite into it immediately. Let it cool in the water bath for a couple of hours. Run a knife around the edges to loose and invert onto a serving platter. It should pop right out. Carefully peel off the parchment.
- Room temp is best for this cake. Refrigeration can make it a bit crumbly, but still very, very tasty. I like it served with a handful of berries (blackberries and raspberries have both been fantastic.)
 Final step: make sure you invite people over. Otherwise, the nemesis may attack when you least expect/need it... :p
z)
1. A source of harm or ruin
2. Retributive justice in its execution or outcome
3. An opponent that cannot be beaten or overcome.
4. One that inflicts retribution or vengeance.
5. Nemesis Greek Mythology The goddess of retributive justice or vengeance.
For this cake, I would focus on definitions 1 and 3. This cake has become my downfall. If there is one in the house, it will be eaten- slowly, bite by bite... until you and anyone else in the house (also stealing forkfuls) suddenly look up and say, "Why is all of the cake gone?!"

Let's get started- This recipe really has very few ingredients:
Easy Chocolate Nemesis
1 cup unsalted butter, cubed (plus extra for greasing pan)
12 oz fine quality bittersweet chocolate, coarsely chopped (70% cacao is ideal- get the good stuff)
5 large eggs
1 cup sugar, divided
7 tbsp water
raspberries, whipped cream, or mascarpone (for garnish)
- Put the rack in the oven in the middle position and preheat to 300 F. Prep your pan- butter the bottom and edges, cut a parchment circle to fit in the bottom, place it in, and then butter the top of the parchment. I used butter when I did this, but I am about 85% confident it would also work with PAM for baking...
****IMPORTANT NOTE: Do not use a springform pan! This also includes pans that have a bottom that you can lift through the top of the pan for easy removal. This recipe involves a water bath. If you use the latter pan I mentioned, you will end up having a mess and having to remove the batter into a new pan. Like this:

Let's just say it wasn't pretty and move on.
- You will need to set up a double boiler to melt the butter and chocolate together. If you do not have an actual double boiler, just set a metal bowl above a pan of slowly boiling water. The water should not actually touch the pan. The water should also not be at a full rolling boil, more like this:


-Set the bowl on top and toss in the chocolate and the butter.

-Stir as the butter and chocolate start to melt. Mix it until it becomes creamy, making sure to scrape the sides and keep the bottom from burning or overcooking.
It should end up looking like this:

Set it aside to cool while you do the next step.
**NOTE- Don't throw away the boiling water. Add about 1 cup of water to the water pan and keep it at a low boil until you get to the part where you put the cake into the roasting pan.
- Beat together the 5 eggs and 1/3 cup of the sugar at high speed until tripled in volume. I have a stand mixer and this took about 8 minutes. You want it to be thick enough so that if you lift the beater, it takes a second or two for the ribbon to dissolve- the fluffier, the better.
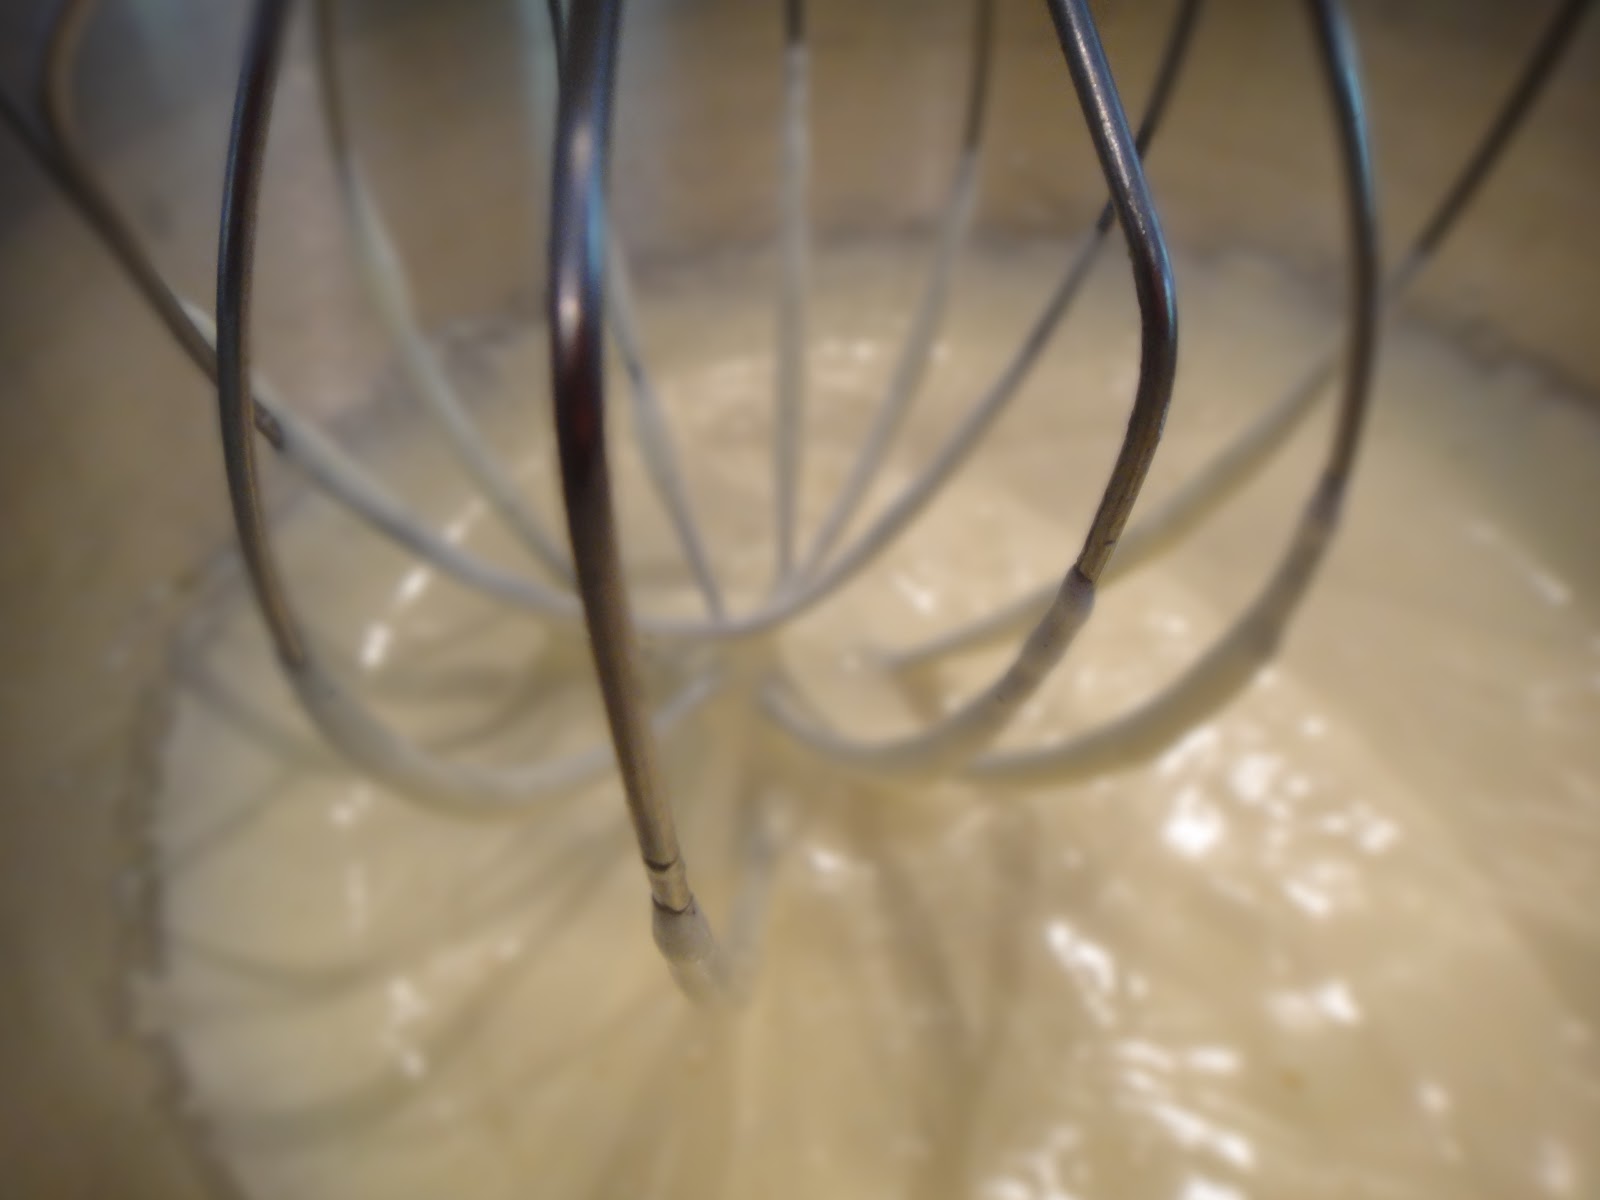
- While this is beating, heat the remaining 2/3 cup of sugar and 7 tbsp of water in a small saucepan over medium heat. Stir it until the sugar dissolves and the syrup becomes clear. This should be pretty quick, depending on your pan- maybe 2 minutes.
-Pour this hot syrup into the melted chocolate. Stir to combine, then set aside to cool for about 10 minutes.
-If your eggs go a little flat while the syrup cools, give them a quick beat before the next step: Slowly add the chocolate syrup, a little bit at a time to the egg mixture, while beating at medium speed. Continue until everything is fully incorporated- but just enough- overbeating will take too much air out of your batter.
-Pour the batter into your non-springform pan and place it into a roasting pan lined with a kitchen towel (to keep it from sliding.) Pour boiling hot water that you originally used in the double boiler step into the roasting pan until it reaches about 3/4 of the way up the side of the cake pan.

-Pop it in the oven and bake until just set, about 50 minutes to 1 hour. It should feel just slightly firm to the touch- depending on personal taste, you can keep it in longer or even less. The less baked it is, the gooier it will be....


-Take the cake out and resist the urge to bite into it immediately. Let it cool in the water bath for a couple of hours. Run a knife around the edges to loose and invert onto a serving platter. It should pop right out. Carefully peel off the parchment.
- Room temp is best for this cake. Refrigeration can make it a bit crumbly, but still very, very tasty. I like it served with a handful of berries (blackberries and raspberries have both been fantastic.)


