Saturday, November 26, 2011

Holiday Cookies #2: Orange Butter Cookies with a Grand Marnier Glaze


I found this recipe in the holiday edition of Fine Cooking magazine last year and couldn't wait for the holidays to roll around again so I could have an excuse to bake up a batch (or two...)
These cookies are simple to make, yet have a great complex flavor- the combination of citrus with a hint of salt nicely compliment the naturally buttery flavor of the cookie. They look great cut into clean, simple circles, or you can get creative and use more holiday-appropriate shapes :) I was tempted to use my ninjabreadmen cookie cutters, but I opted for some simple flower cutters instead. 
The cookies can take a bit of time to make, depending on the size of the shapes you use. Using these relatively small shapes, this batch made approximately 4 dozen cookies.


Orange Butter Cookies with Grand Marnier Glaze

Cookies: 
  • 2 1/3 cups unbleached all-purpose flour; more as needed
  • 1/2 tsp. table salt
  • 1/4 tsp. baking powder
  • 1 cup unsalted butter, softened
  • 1 cup granulated sugar
  • 2 Tbs. finely grated orange zest
  • 3 large egg yolks
  • 1 tsp. pure vanilla extract

Grand Marnier glaze:
  • 4 oz. (1 cup) confectioners’ sugar
  • 2 Tbs. Grand Marnier
  • 1-1/2 Tbs. heavy cream; more as needed
  • 2 tsp. finely grated orange zest
  • Pinch of table salt
- Whisk together the flour, salt, and baking powder.


- Beat the butter, sugar, and zest until well-blended, about 2 minutes:


- Add egg yolks one at a time, mixing until blended after each.  Add vanilla with the last egg yolk, and mix for one additional minute. 

- Add the flour and mix on low speed until moist clumps form- this should take about 1 minute.
- Turn dough onto a work surface and divide into 2 discs:
-Wrap each disc in plastic and refrigerate for abut 30 minutes. 
-After 30 minutes, preheat the oven to 350 deg. Roll the dough to approx 1/4" thick. 
- Cut the dough into desired shapes and place about 1" apart.
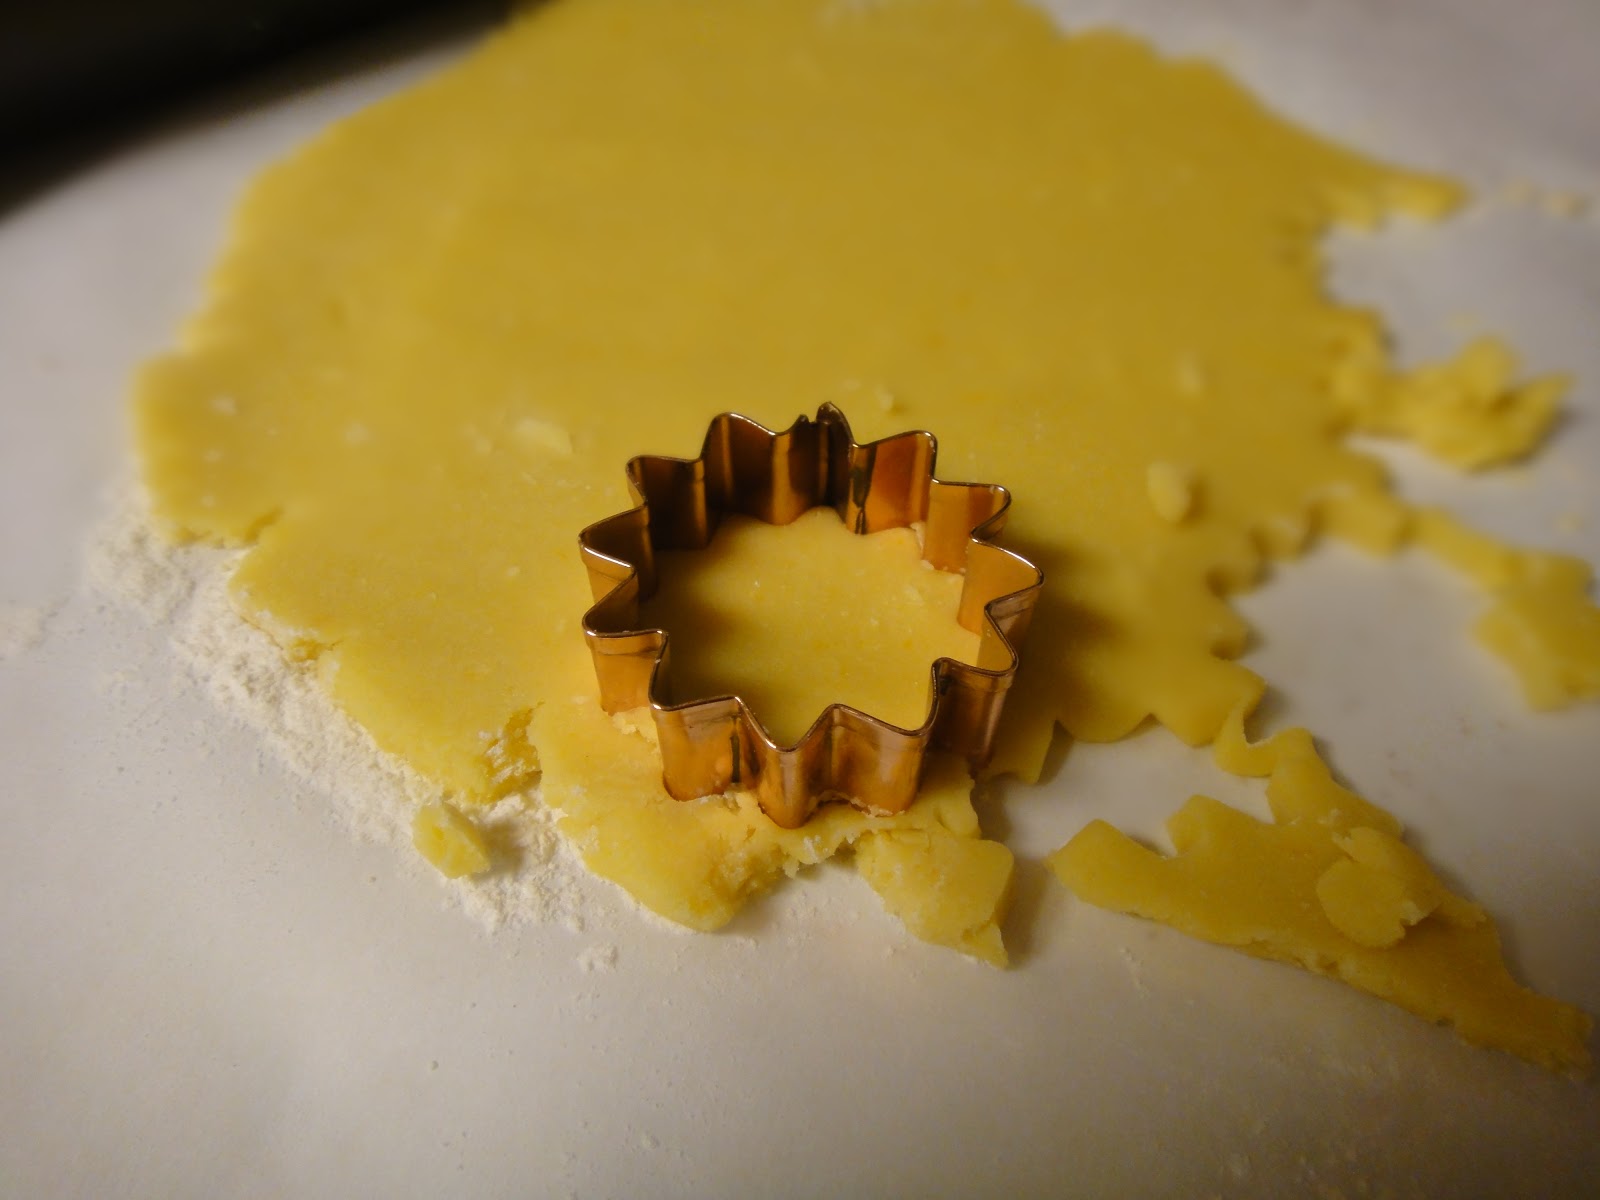


-Bake until the edges become golden brown, 9-13 minutes. Again, this will depend on size, so I would keep an eye on them starting at 8 minutes if your cookies are small. Also, depending on how your oven heats, you may want to rotate the pan halfway through.
-Mix the glaze ingredients. I have made this a couple of times and this part will be a matter of personal preference. Don't get me wrong,  I looove the flavor of Grand Marnier. However, the raw flavor of 2 tbsp of the liquor can end up overwhelming all of the other flavors. It might be best to just add one tbsp and, if that is sufficient, add a little extra cream to loosen the glaze enough to spread. Or, if you add the full 2 tbsp and it seems like too much, just add a bit more powdered sugar and cream to even it out.
- Spread the glaze over the cooled cookies and give them some time to dry. Don't try stacking them when they are still wet, or you will end up with one giant mass of stuck-together (yet still tasty) cookies. 


Friday, November 25, 2011

Holiday Cookies: #1- Mexican Hot Chocolate Cookies


I LOVE love love love these cookies. I found the recipe last year, in a Martha Stewart holiday cookie magazine that I bought on a whim in the grocery store checkout line. Since then, I have probably made at least a dozen batches of these cookies. I decided it was time to start holiday baking, and where better to begin than my favorite sweet and spicy cookies.
These chocolatey tidbits have a crunchy saltiness from the chunks of salt in the batter, and a nice bit of sweet and heat from the cayenne mixture they are rolled in just before baking. I have been in love with pretty much anything combining salty and sweet for years, and these combined with a salted caramel mocha make for a super tasty and decadent holiday treat.

Mexican Hot Chocolate Cookies:

  • 2 1/4 cups all-purpose flour
  • 1/2 cup unsweetened cocoa powder 
    • I have made it with regular cocoa powder, but strongly prefer a Dutch Dark Cocoa- Hershey's Special Dark, specifically.
  • 2 teaspoons cream of tartar
  • 1 teaspoon baking soda
  • 1/2 teaspoon coarse salt
  • 1 cup unsalted butter, slightly softened
  • 1 3/4 cups sugar
  • 2 large eggs
  • 2 teaspoons cinnamon
  • 1/2 teaspoon powdered cayenne pepper
    • This can be altered based on personal preference. I like the 1/2 tsp, but when I'm making them for people who don't like spice or if I'm not sure if they will like spice, I usually do just over 1/4 tsp.


Preheat oven to 400 deg.
Sift together flour, cocoa powder, cream of tartar, baking soda, and salt.


In a separate bowl, beat butter and 1 1/2 cups sugar on medium speed until light and fluffy- this should take about 2 minutes.
Add eggs and beat until everything is combined. With the mixer on low, slowly add the flour mixture and mix until it all comes together.


At this point, I usually like to pop the dough in the fridge for about 15 minutes- having it cold makes it a little easier to roll in into balls with minimal mess. 

While the dough is chillin', take a small bowl and mix the remaining 1/4 cup sugar, cinnamon, and whatever amount of cayenne powder you would like to use. Take a tablespoon and form it into a ball of dough.  Roll the ball in the cinnamon mixture. Gently bounce it in your palm to allow any excess to shake of through your fingers. I find the cookies are best when the mixture is in a holiday-appropriate bowl:


Place the balls about 2-3 inches apart, on a parchment-lined baking sheet. 


Bake until cookies are set in center and begin to crack, about 10 minutes, rotating sheets halfway through. This will vary based on your oven. I have had them be perfect after 8 minutes in one oven, and then overcooked after 8 minutes in another. Unless you like crispier cookies, they are best when pulled from the oven while they are still soft to the touch- they should deflate a little if you try to touch one with your fingertips. At this level of done-ness, they will be chewy and slightly fudgy, and stay soft for approx 3-4 days.


 Let the cookies cool on sheets on wire racks for a few minutes, then transfer cookies to racks to finish cooling. 


Wednesday, November 23, 2011

Salad with fresh figs, goat cheese, prosciutto, and balsamic vinagrette


It has taken me forever to get my hands on fresh figs. FOR-EV-ER. But I finally did and I wanted the first thing I made with them to be simple, fresh, and tasty. I went to the google machine and got some ideas about what kinds of flavors typically went well with figs. I settled on a nice salad with salty prosciutto, creamy goat cheese, and a tangy balsamic vinaigrette. The salad went particularly well with my stuffed squash blossoms. 

Salad with fresh figs, goat cheese, prosciutto, and balsamic vinaigrette:
Start with some kind of leafy vegetable- I used a crunchy red leaf lettuce. This would also be nice with spinach, romaine, maybe even arugula. If your leafy veg is of the large-leaf variety, give it a rough chop into bite-size pieces. No one wants to shove a giant leaf in their mouth. No matter how hard a person tries, it's just not going to be sexy.  

Quarter the figs, use as many as you would like, this salad is all about personal preference- I did two per person


Dice the prosciutto and toss it in a hot pan- let it cook for a bit until it's all caramelized and crunchy.


While the prosciutto is cooking, mix together the vinaigrette: 

- 2 tablespoons balsamic vinegar
- 1/2 teaspoon Dijon mustard
- freshly ground black pepper to taste
- 6 tablespoons EVOO

Whisk together the balsamic, dijon, and pepper. While whisking, slowly incorporate the EVOO until you have an emulsion. The dressing will keep for a while, so if you have leftovers, just keep it in the fridge and use at will (also makes a great marinade.)

Toss the lettuce with the balsamic. Add in the prosciutto and split between 4 salad plates... or two big plates :) 
Crumble goat cheese over each plate, and pop the fig quarters along the sides of the plate.

Enjoy!

Wednesday, October 5, 2011

Stuffed Squash Blossoms


I saw a segment on Mario Batali's old show a while back with stuffed squash blossoms and they just looked so delicious that I decided I had to make them. The problem I encountered was actually *finding* squash blossoms.... 

Last year I actually found them in my mom's mini squash patch. She didn't even know what little treasures she had cultivated. Since then, I have managed to find them at my local farmer's market, and I have tried out a few different filling combinations. The recipe I have posted here is with ricotta cheese. I have also tried this with goat cheese, cream cheese, and a combination thereof. 

I found that when I used only goat cheese, the cheese overpowered everything else both in terms of flavor and texture. I liked the cream cheese, it was nice and creamy and ended up being all gooey and warm when fried. The combination of the two also worked, just watch your goat:cream cheese ratio... I used the same herbs (basil and parsley) with those cheeses, but you can really do whatever you want. These blossoms are pretty much a blank canvas.

Here are the lovely flowers pre-prep. You want to make sure you open the blossoms and rinse them out- also remove the stamen (as gently as possible.) Lay them out on a paper towel and let them dry for a few minutes.


In a small bowl, mix chosen cheese (In this case, for 4 blossoms, I used 3 heaping tablespoons of ricotta) with chopped basil and parsley. Toss in S&P to taste, and a bit of fresh parm for good measure.


Gently open the blossoms as much as possible and stuff  with the mixture. Depending on the consistency, you may want to place the mixture in a pastry bag and pipe it in. You could also us a plastic sandwich bag- just snip off the tip and you have a handy piping tool. My ricotta was actually relatively firm, so I just plopped it in using a spoon.


Once you have shoved a sufficient amount of cheesy goodness into the blossom, pull the ends together and gently twist them closed:


Once filled, you can batter them however you decide. I find that I prefer  a light, tempura-style batter. It is remarkably easy to make: Take 1/4 cup of flour and add 2 tbsp of cold soda water. The bubbles do a little something special to the batter:


You can add a bit more soda or flour as needed to achieve the right batter consistency. Take each blossom and coat completely in the batter. Keeping the stems intact can help during this step.

 Heat your oil to 375 degrees. Fry the blossoms until they are a light golden brown (with this batter, they won't get super dark, so don't keep cooking them hoping for a big color change.) They should end up looking a little like this:


However, because the blossoms are so delicate, keep in mind they can also end up looking like this: :)


So at this point, take the remaining, non-exploded blossoms and enjoy. I served them with Red lettuce salad with figs, goat cheese, prosciutto and  a balsamic vinaigrette. With the fattiness of the cheese and fry, the acidity of the balsamic provided a nice contrast... I'll post the recipe for the salad shortly, it's one of my new favorites. These would also go nicely with a really simple marinara sauce.
Buon Appetito!